 I have long used Synology’s Network Attached Storage range of devices for both myself and some customers, not only to safeguard our documents but also as a surveillance device via their Surveillance Station plugin that is shipped with each NAS. Recently, Synology announced two cameras to the market that pair nicely with their Surveillance Station system. Considering that these new cameras don’t need an extra licence when used with a Surveillance Station and provide more functionality over the standard cameras I had used in the past, I thought it was time to get a pair to test out.
What I purchased was one turret camera, known as the TC500 and one bullet camera, known as the BC500. Functionality wise, both cameras seem pretty similar and boast similar specs on the Synology website. I assume that internals are the same for both cameras despite their different form factors, so my thoughts and testings in this review apply to both cameras, although I may have been testing or using screenshots of one or the other.
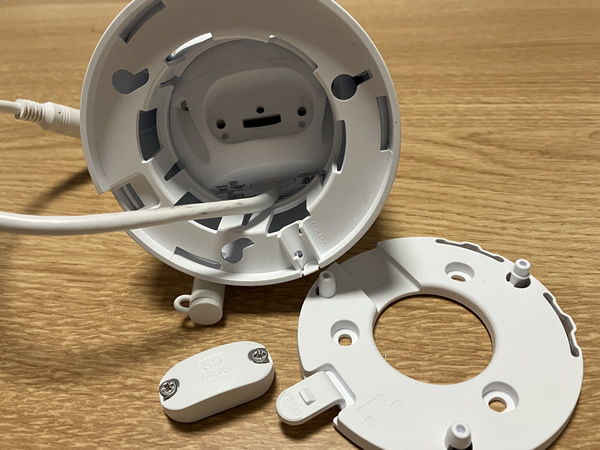
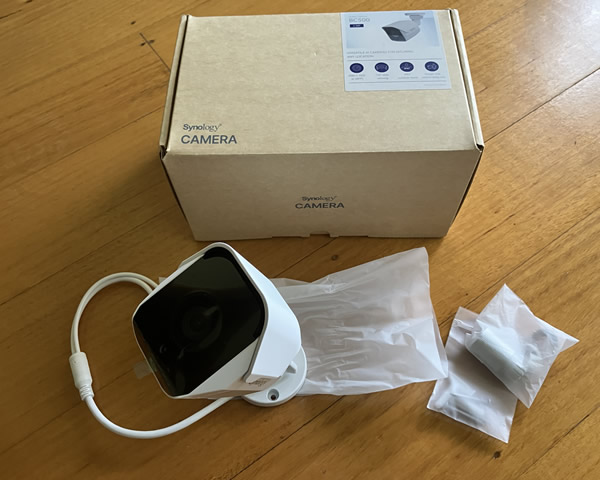
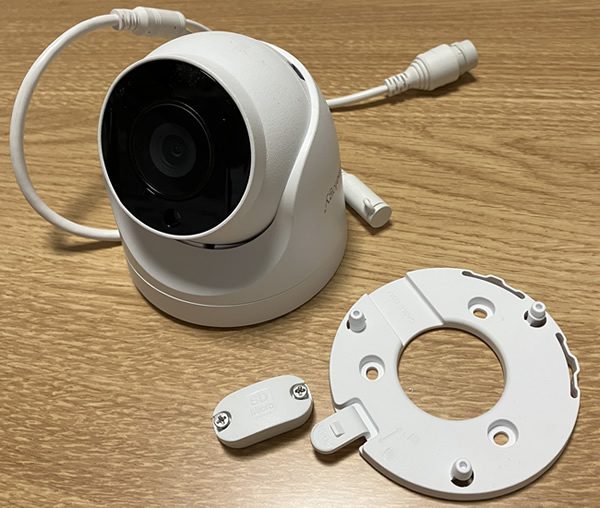
Powered via either PoE or optional 12 volt PSU, there is not much shipped in the box apart from the camera, a small instillation guide, a set of screws and a nifty RJ45 cap cover to seal out any moisture to the RJ45 connector. Under the camera itself is a sealed cover to exposes a reset switch and space for an optional micro SD card.
Setup
While Synology provides a camera tool to find your cameras on your network, unlike IP cameras of old this is not really needed. As soon as you plug your cameras into your network and visit Surveillance Station on your Synology NAS, you will be prompted to set up the new camera and set a password right inside surveillance station. This ease of configuration is a welcome feature, especially for installers. Also remember that Synology’s own cameras each come with a built-in Surveillance Station licence, so there is no need to buy additional licences.
Local camera interface
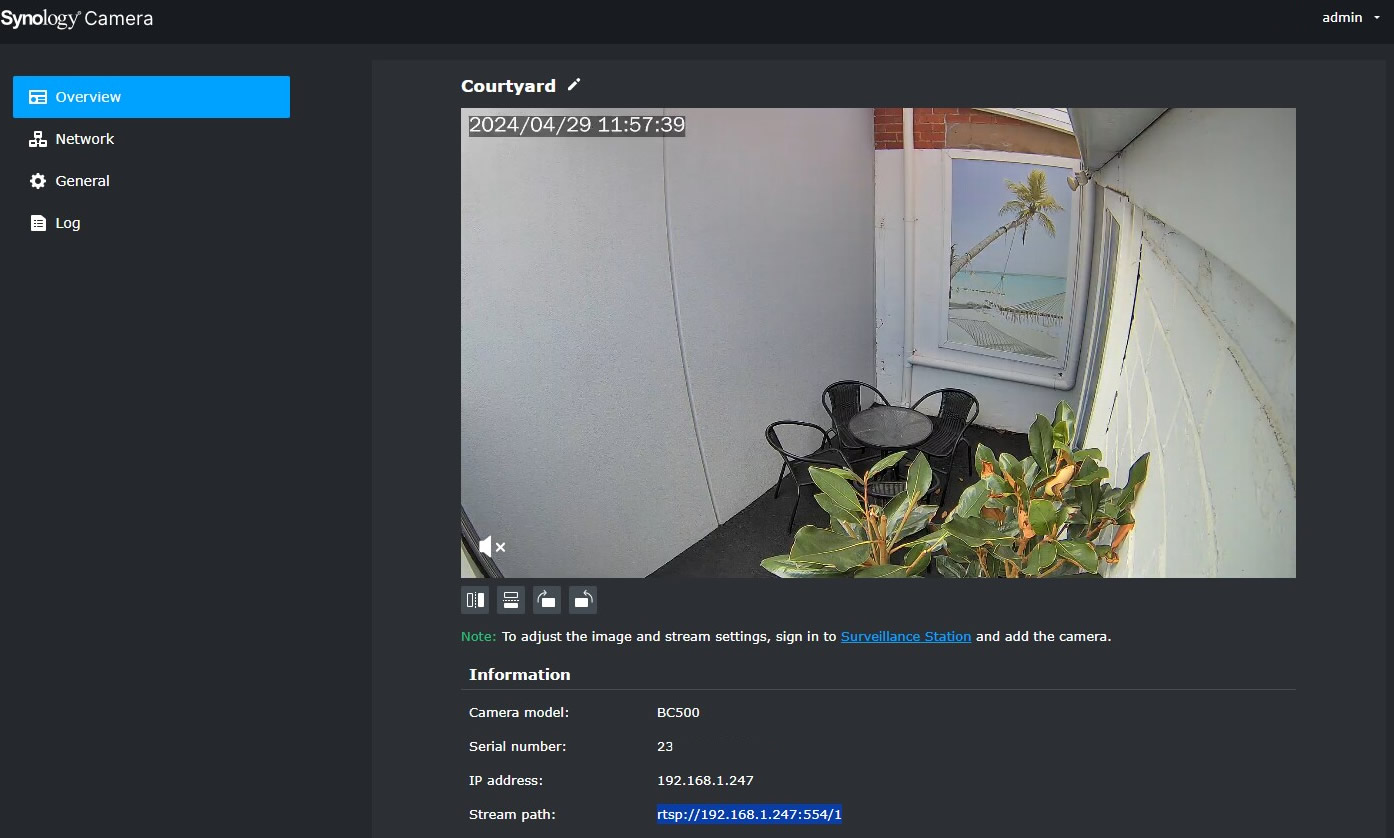
Synology make it clear that these cameras are designed to be paired with their Surveillance Station platform to get access to all the features that these cameras have. Despite this, there is a basic user interface on the camera itself that will give you access to basic features as well as allow you to choose between their Surveillance Station integration or the ONVIF Protocol. This option will allow the camera to be used with other NVRs, although you would not get access to the camera’s built-in AI features with another NVR. Buying a Synology camera to use with another NVR would not be an ideal choice as there are more affordable options out there better suited to generic NVRs, but it is good to know that this option is there if you ever decide to move away from the Surveillance Station software in the future. 
Using the Synology cameras with RTSP
Another way to get video from the camera is the popular RTSP protocol. Synology publishes on their website that the format of that stream is as below.
rtsp://[IP address]/[number of stream], for example, rtsp://192.168.0.50/1 for Stream 1.
I have found that to use the stream from the BC500 or TC500 with software like Home Assistant or Frigate, you need to pass the username and password along in the URL path. After a bit of testing with both VLC, Home Assistant and Frigate I have found the undocumented correct format of the RTSP URL with username and password is like below.
rtsp://[user]:[password]@[IP address]/[number of stream][IP address]:[rtsp port]/[number of stream]
In my example if the user was bobbobjones the path would like below
rtsp://bobbobjones:mysecurepass@192.168.1.85:554/1
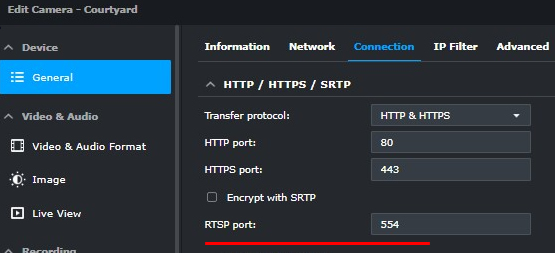
Two things to notice are the RTSP port of 554 that I have passed along. 554 is the default port, which you can confirm under general settings and connection inside the Surveillance Station setting for the camera itself.
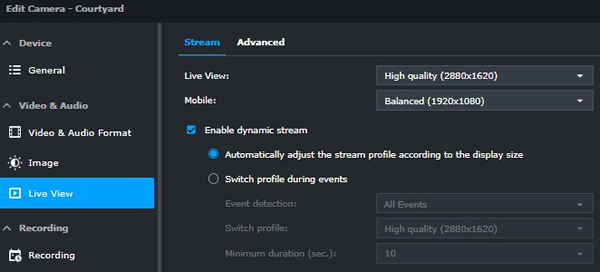
The other setting to pass along is the stream number, which I believe the option is either 1 or 2 based on the live view and mobile view setting from the Surveillance Station setting for the camera as shown below.
Surveillance Station interface options
Once connected to Surveillance Station, when you check out the settings page, you find the TC500 or BC500 have a lot more options than generic cameras. Along with a lot more stats on the camera and network options, you will find a new option for “Edge Recording”. With edge recording, you can add an SD card to the camera, which can take over recording if the NAS goes down for a short period. This ensures a seamless timeline of your recording in Surveillance Station. Ideally, you would want to run your POE network switch that powers your cameras on a UPS to also protect your recordings from power outages too.

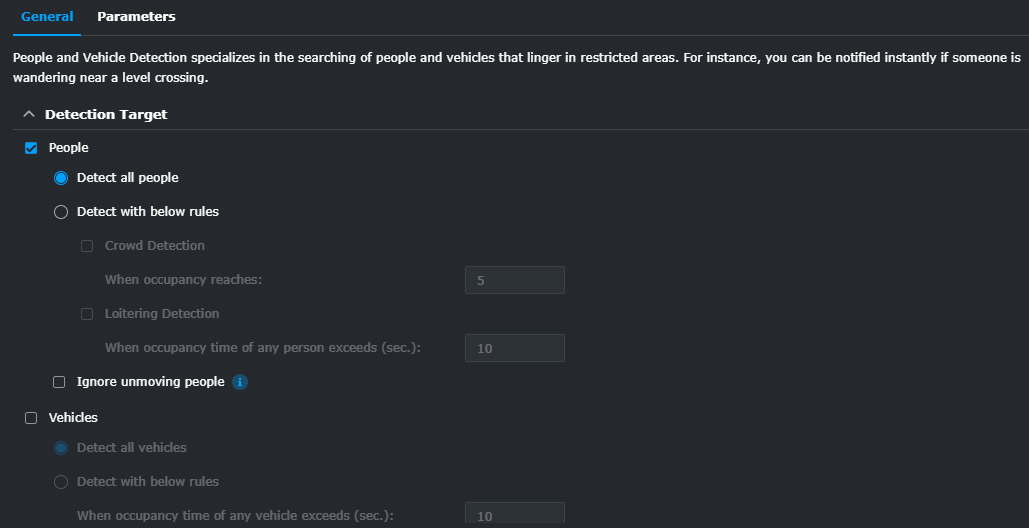
The other major addition to the Surveillance Station settings interface is the sections about event detection, where you can adjust people, vehicle and intrusion detection etc. This is Synology’s big selling feature of these cameras and uses the AI features that are built in to the cameras, meaning these normally processor intensive features are done on the camera and not on your NAS.
Another option that will appeal to many, (especially IT professionals who plan to deploy these cameras to their workplace) is that the fact that firmware upgrades are all done from inside Surveillance Station. So no more need to remote on to several different cameras to ensure the firmware is up to date.
Performance
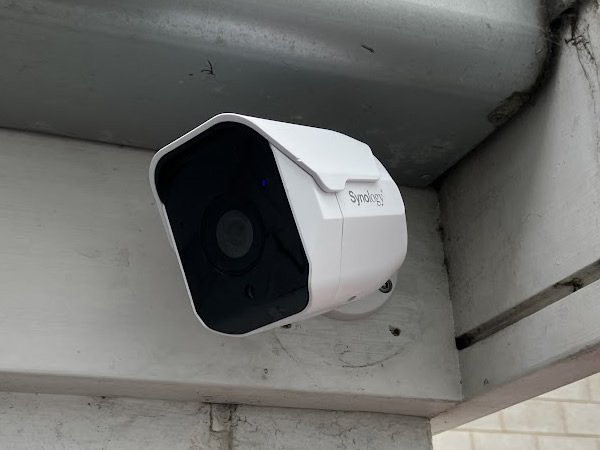
In my opinion, these cameras are well-made, easy to setup and provide good image quality and excellent object detection thanks to the inbuilt AI. My only criticism is the IR illumination at night time is fairly weak. One outdoor camera I installed replaced a 20 year old Foscam camera, and the image was noticeably darker on the Synology compared to the Foscam. So much so that I am considering adding an external IR illuminater in the area that this camera is in.
The cameras I purchased were in the mid $400AU range, which can be expensive for what is a mid-range camera, but there are a few factors that help offset this cost. Synology camera licences in general cost $80 to $90 in my part of the world, so you take off that cost when comparing the camera to a cheaper brand. Also, the on device AI object detection surly would be less of a strain on your NAS than a camera that is using your NAS for object detection. Finally, I believe that the target market for these cameras would be installers who would be servicing small businesses, schools and maybe small government contracts. When paired with a Synology NAS, an installer would be wise to purchase these NDAA and TAA compliant cameras over cheaper Chinese brands like Hikvision or Dahua that are banned in several government facilities. The added bonus is that the tight integration with Surveillance Station means the installation and management of Synology’s range of cameras is much quicker, meaning a huge saving in time if you are installing these professionally.
Official site
https://www.synology.com/en-au/products/camera-500