 This article follows up on my previous discussion about setting up Frigate. For those unfamiliar, Frigate is an open-source network video recorder featuring advanced AI detection for objects like cars, people, pets, and boxes. What attracted me initially was its local AI processing and seamless integration with Home Assistant. Launched in 2019, Frigate is relatively new but has seen consistent improvements with each version. Today, I’ll be installing and exploring the new features in beta version 0.14, particularly focusing on its all-new user interface.
Installing Frigate Beta 0.4 beta
If you use Frigate as your sole NVR, you may want to be doubly sure that you want to jump on the beta software, as, like with all beta software, there can be bugs. As I generally use my Synology NAS as an NVR and only use Frigate on two of my cameras for testing out some smart notifications, I am happy to jump the gun on an early beta and test out its features. I also keep a good backup of the working system so that I can revert any changes if necessary.
Before you install any updates, it’s always best to check the release notes for breaking changes, as the wrong config setting may cause the software not to start correctly. In beta 0.14, the biggest change that affected me was the dropping of RTMP. While I stopped using RTMP a long time ago, there was a forgotten reference to RTMP under each camera in my config.yml file. This issue was easily resolved once I double-checked the logs and my config file.
Option 2. Install via Home Assistant add on
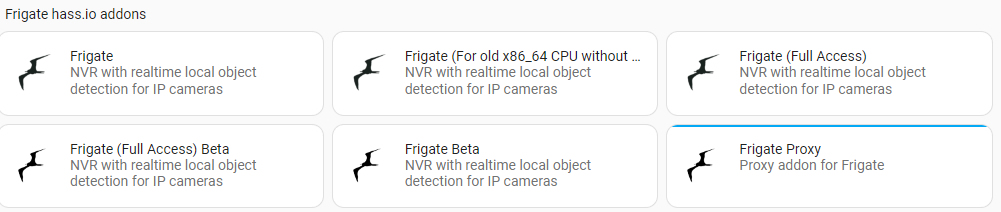
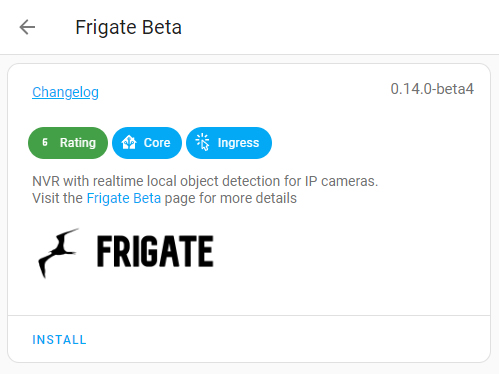
The easiest way to set up Frigate beta is via the Home Assistant add on as shown below. Be sure to stop your existing Frigate add on if you have it running.
Option 2. Install via Docker and Portainer
I find that frigate can be a bit of a performance hog on Home Assistant, especially without a coral USB stick, so I prefer to run it in docker, managed by Portainer that runs on a VM that lives on my development server.
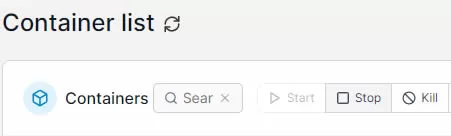
If you have Frigate installed already under Docker with Portainer like in my previous post, you will need to stop your running Frigate instance before installing Frigate Beta. To do this, open Portainer, find Frigate in the list of containers and select stop.
Once Frigate is stopped you can install frigate beta by creating a new stack, This is done very similarly to how I showed in my previous post but using the code below and creating a new stack under Portainer. Note that the image name may need updating based on when you are reading this post.
The list of the latest releases are listed here, https://github.com/blakeblackshear/frigate/releases.
services:
    frigate:
      container_name: frigate-beta
      image: ghcr.io/blakeblackshear/frigate:0.14.0-beta4
      restart: always
      shm_size: "74mb"
      volumes:
        - /etc/localtime:/etc/localtime
        - /root/frigate:/config:rw
        - /root/frigate/clips:/media/frigate/clips:rw
        - /root/frigate/recordings:/media/frigate/recordings:rw
        - type: tmpfs # Optional: 1GB of memory, reduces SSD/SD Card wear
          target: /tmp/cache
          tmpfs:
            size: 1000000000
      ports:
        - "8971:8971"
        - "8554:8554" # RTSP feeds
        - "8555:8555/tcp" # WebRTC over tcp
        - "8555:8555/udp" # WebRTC over udp
        - "5000:5000"
      environment:
        FRIGATE_RTSP_PASSWORD: "super-secret"
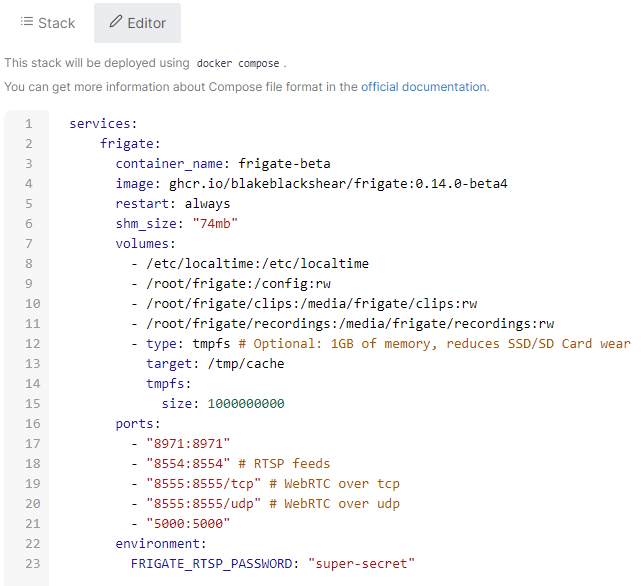
Note that I am not using a Google Coral USB stick (which is recommended by Frigate) in the above config. If you are, ensure you adjust your stack accordingly by copying what worked on your previous setup. Also, don’t forget to add a unique RTSP password in place of the dummy one shown above.
If you are just installing Frigate Beta as a test and plan to move back to your production version of Frigate, I suggest changing restart: always to restart: no. Also, the shm_size may need to be adjusted depending on how many cameras you are using. By default, it is 64MB. The Frigate logs suggested I increase it to above 66MB, so I bumped it up a bit more to suit three cameras, and the logs have not mentioned an issue since.
Once Frigate Beta starts, it should be accessible at its previous address. If you are not getting the full interface loading, it is possible there is an error in your config. To see any errors, go to your containers list in Portainer and find your new running beta container. If you click on logs, you can see the Frigate logs, which can be helpful if Frigate fails to start correctly.

Frigate 0.14 Review
The biggest change in Frigate 0.14 is the completely new user interface. The developer discusses the UI change in this post here, but to cut a long story short, Frigate was originally developed without a UI, which was added later. Like many open-source projects, improvements to the look and feel often come as the project matures. This current UI update is a welcome and refined change.
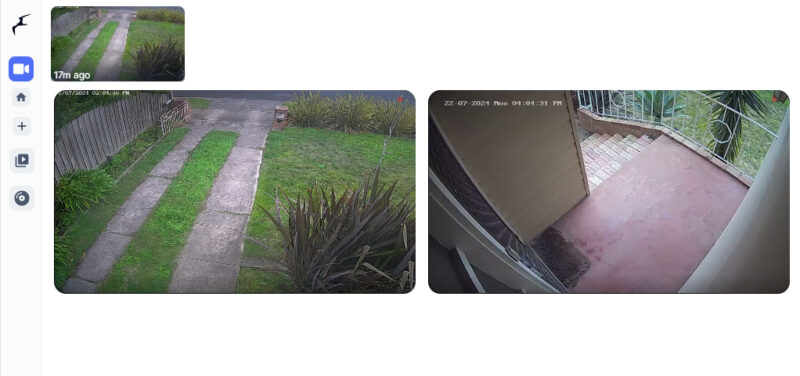
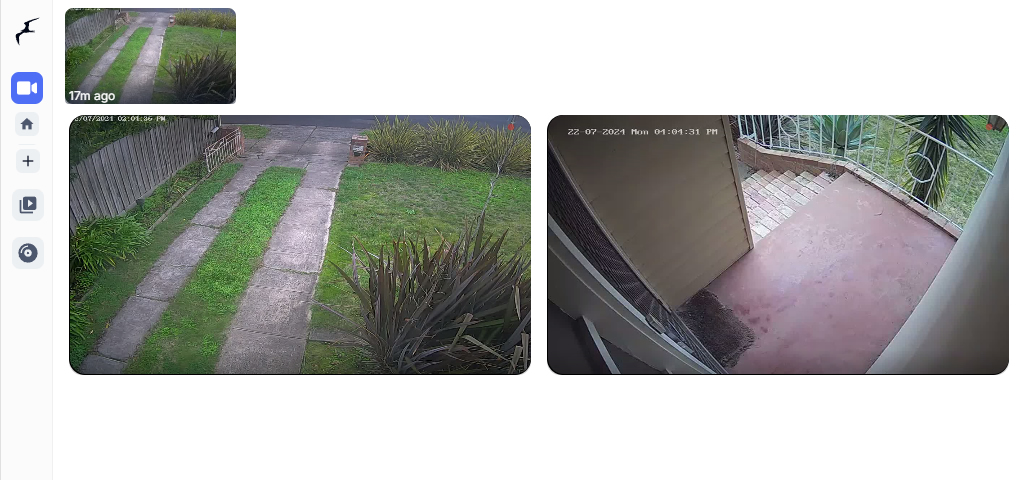
When you open Frigate, you will see a new menu bar on the left with the top option being a live view button that shows your camera layout as below. Across the top, you will see small thumbnails of the most recent detected activity. The main camera images are updated once per minute when there is no activity. If there is activity, a small red recording dot appears in the upper right-hand corner of the camera image. It’s a great way to quickly look at the camera and see an overview of what is happening now if you hear something outside.
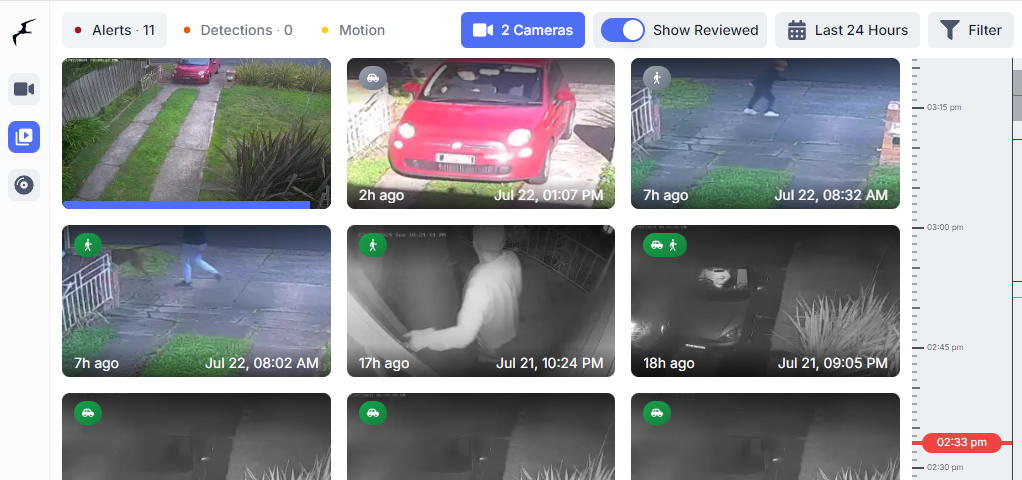
Along with options to group camera screens and resize the feeds to suit different devices, the next major update is in the review section, where you can look through recorded events. This view is nicely arranged with a nice timeline to the right and the option to play back the video quickly when you hover over one.
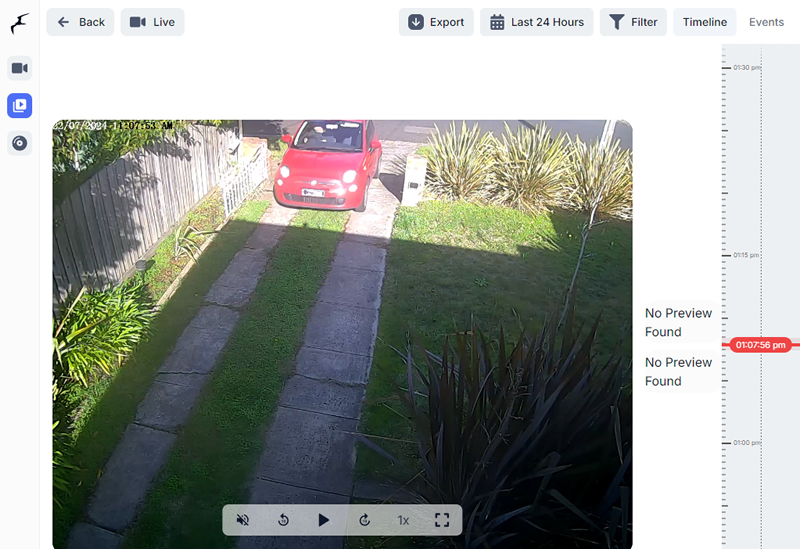
If you click on a video, you will see it in a full screen mode with a timeline and playback options as an export button above the video. Once you export the video, it will appear in the export screen where you have the option to rename and download the required video.
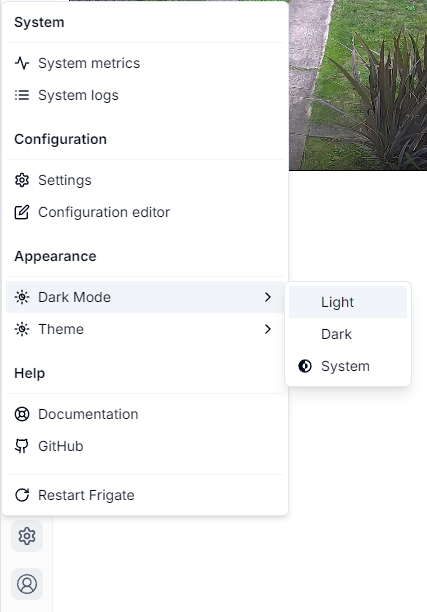
Another new feature is the system menu, which improves upon previous updates and introduces new options, such as password-protected users. Much of the configuration of Frigate still relies on the config.yml file. While a configuration editor is included, if you have issues in your config file, access to the configuration editor in the system menu is not available because the system has not started properly. I would like to see a safe mode introduced so that Frigate can start without cameras running, allowing you to view the error logs and edit your config without having to edit the file via other means.
Below is just one part of the system logs, these open up fast with a slick animation effect that really gives the whole system a fantastic level of spit and polish that you would normally see on commercial products rather than an open source beta product.

Wrap Up
I am very impressed by the advancements in the latest Frigate update. In the future, I believe it will be a very close choice between buying a commercial DVR or setting up Frigate as your main DVR. As stated earlier and in other posts, I personally run Frigate on my testing server, which is an i3-based Intel NUC that performs other tasks as well. I have never set up any hardware acceleration or added a Google Coral USB, which is the recommended way to run Frigate. Despite this, I find the system’s performance excellent.
If you are looking to try out the beta version of Frigate yourself, be sure to back up your system and read the release notes for any breaking changes. Update your config.yml file accordingly.
Frigate Releases and Notes
https://github.com/blakeblackshear/frigate/releases
My Previous Post on a fresh install of Proxmox, Portainer and Frigate
https://www.inspectmygadgets.com/frigate-nvr-docker-under-proxmox/