Regular readers of my blog may recall I purchased a Creality Ender 3 v2 printer a while back. When purchasing it, I also decided to purchase a BL touch auto bed levelling probe. This add-on probe helps in getting a perfectly level bed and therefore much more accurate prints.
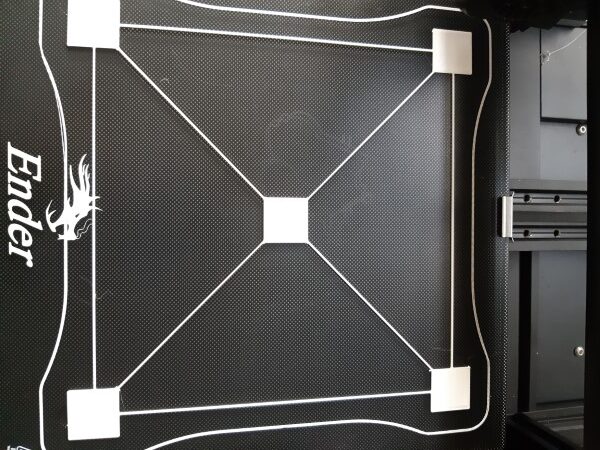
After building the printer, I decided to not install the probe right away and instead test the printer in its default configuration before adding extras into the mix. What I found was I managed to get manual bed levelling pretty darn good and got decent prints from my Ender 3 v2 without the BL touch. My previous experience with 3d printing was with a mate’s Creality CR10, it’s much larger bed has been a pain to get a decent level on and therefore struggles on some larger prints.
Fast-forward several months and while my prints on the ender3 v2 have been pretty good I did find my level had drifted off a bit, so I have decided it was time to fit the Bl Touch after one last manual level.
Fitting the BL touch is fairly easy on the Ender 3 v2 thanks to a dedicated BL Touch port on the 32bit main board and screw holes ready to accept the BL touch mount next to the print head. Once fitted, you also need to upgrade the printer’s firmware to a version that had BL touch support enabled. Firmware upgrades on printers with 32bit main boards is as easy as inserting a clean and fat32 formatted SD card in the printer that contains the new firmware file. Once you insert the card, you turn on the printer and the printer copy the new firmware across to the main PCB.
You can then check the firmware version under the info menu to confirm that the printer has updated the firmware to the version you had on your card. Another tell-tale sign of moving from the stock firmware to the BL touch version, is the main menu now has a level button on in place of the info button.
The first firmware I tested was Creality’s BL touch enabled firmware, itself based on the open source marlin project, while it worked ok I was not too impressed by some spelling and grammar mistakes. This left me wondering if there are any other issues with it, so I eventually tested another firmware also based on marlin by GitHub user Jyers. This new firmware is worlds apart from the stock Creality firmware, providing more info on the display, more options and a more polished (and spellchecked) experience.
Fitting
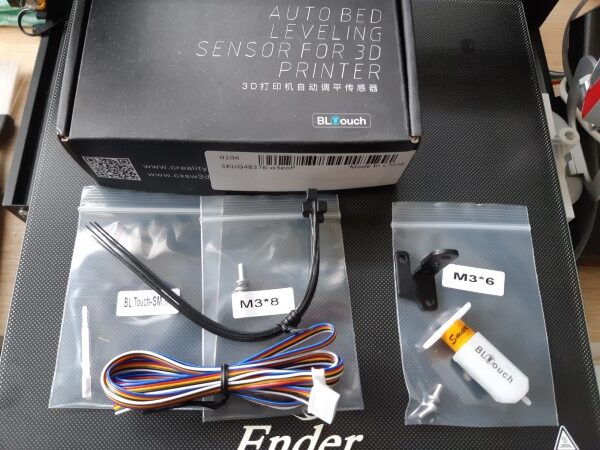
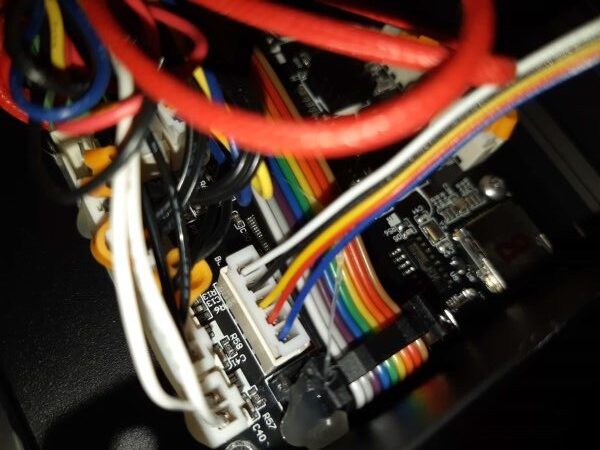
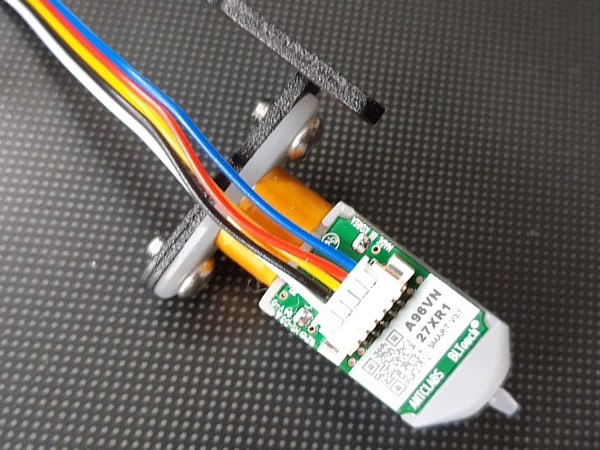
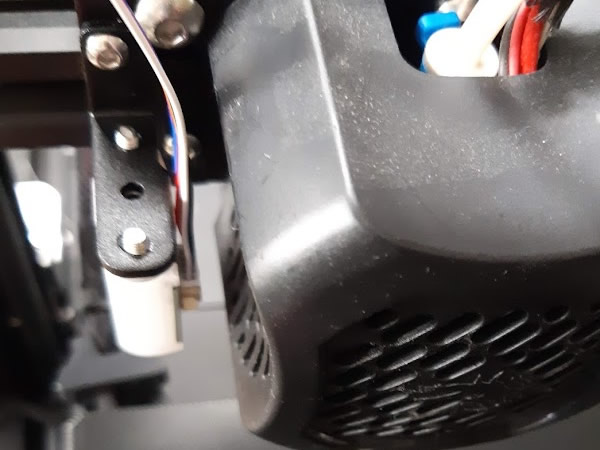
The kit I purchased was a Creality branded kit and came with the BL touch, a bracket, screws a cable and cable ties. A spare probe is also provided in the kit. 2 screws hold the BL touch to the bracket, and another 2 hold the bracket to the left of the print head. From there, the cable is cable tied to the existing cable that runs alongside the bowden tube to underneath the printer. There are 4 screws that hold the printer cover on, 1 under the bed and 3 under the base, with the longest screw near the centre of the frame. Once the cover is loose, be careful pulling it away, as it had the fan attached to it. Once the cover is off, feed the new cable into the housing following the other cables, and you should see the vacant spot for the 5 pin BL touch connector on the main PCB. As with the other end of the cable, this fits only one way, so double check them when you line them up before pushing them home. While you are looking at the main board be sure to note down the board version as you will need this later on when downloading the firmware. Mine was v4.2.2, but there is a later version 4.2.7 also available.
Wrap up
The Bltouch has improved my print performance, but it probably was not necessary given the small bed on my Ender 3 v2 was easy to calibrate and the small prints I normally print. Also, I have noticed it is giving me a random error when the BL touch is running through its test points and I have noticed the lights on the BL touch flicker at the moment it fails, almost like it is losing power. A power off of the printer and a whack on the side of the BL Touch generally resolves this issue.
I really wish Creality sold the printer with the BL touch or similar as a built-in option, as it would have been a much neater finish. Even if you are on the fence of buying a BL touch and are comfortable modifying your printer, I would recommend trying out a version of non-stock version of the Ender 3 v2 firmware as they can be much better than the default Creality firmware. Several different versions are available for stock printers or a version that includes manual mesh bed levelling, this gives you finer manual control over your bed level without purchasing an automatic bed levelling accessory like the BL touch.